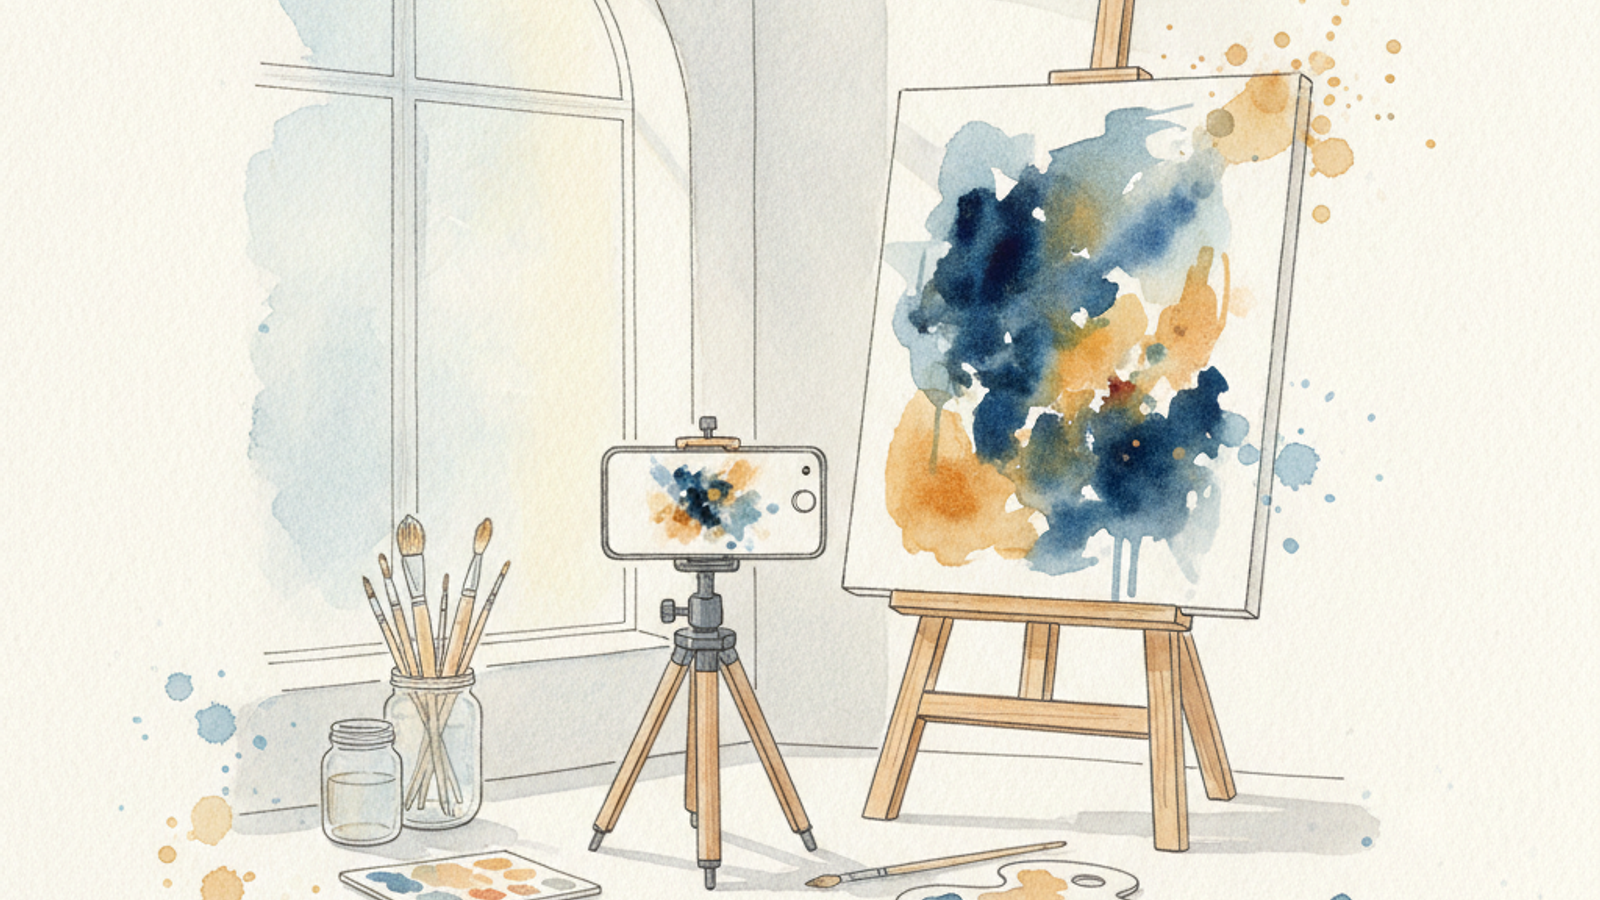
Your Phone is Your Studio: High-Quality Art Photos Are Achievable
In the competitive online art market, your artwork's first impression is paramount. Before a buyer can appreciate your unique style or technique, they see your photographs. High-quality images aren't just a bonus; they're non-negotiable for capturing attention, building trust, and ultimately, making sales. Many artists assume they need expensive DSLR cameras and professional lighting setups to achieve this – but that's simply not true anymore.
Modern smartphones like the iPhone 15 Pro, Samsung Galaxy S24 Ultra, or Google Pixel 8 Pro boast incredible camera technology. With sensors easily exceeding 48MP and advanced computational photography, they are more than capable of capturing stunning, detail-rich images suitable for online galleries like OnlineGallery.com, Etsy, or Saatchi Art. The secret lies not in the gear, but in understanding how to maximise its potential. You already own a powerful tool; let's learn how to use it.
This guide will walk you through a practical, step-by-step process to photograph your art for online sales using nothing more than your phone, some basic household items, and a keen eye. Say goodbye to blurry, poorly lit photos and hello to a professional presentation that truly showcases your talent.
The Golden Rule: Harness Diffused Natural Light
The single most critical element of good art photography is lighting. Natural, diffused light is your best friend. It provides soft, even illumination that accurately captures colors and textures without harsh shadows or reflections. Artificial light, especially from overhead fixtures or camera flashes, often introduces unwanted color casts (yellow, green) and creates distracting hot spots or glare.
The ideal conditions are an overcast day, or positioning your artwork near a large window. A north-facing window is often preferred as it receives consistent, indirect light throughout the day. If you have an east or west-facing window, aim for early morning or late afternoon to avoid direct, harsh sunlight. NEVER use your phone's built-in flash; it will flatten your image, create glare, and distort colors.
Set up your artwork 1 to 2 meters (3 to 6 feet) from the window, allowing the light to fall evenly across its surface. If one side of your artwork appears darker, use a large white foam core board (available for under $10 at art supply stores) or a white bedsheet as a reflector on the opposite side. This bounces light back onto the artwork, filling in shadows and creating more balanced illumination.
Pro Tip: If you're struggling to judge light intensity, consider a free light meter app for your phone like 'Lightmeter by WBPhoto' (iOS) or 'Lux Light Meter Pro' (Android). While not studio-grade, they can help you identify the brightest and most evenly lit spots in your space.
Prepare Your Artwork, Your Phone, and Your Space
- Clean Your Artwork: Dust, smudges, and fingerprints are far more visible in photos. Gently dust canvases, wipe frames, and polish any glossy surfaces. Ensure wet paint is fully dry.
- Clean Your Phone Lens: A greasy smudge on your phone lens will diffuse light, reduce sharpness, and add haze. Use a microfiber cloth (like those for glasses) to thoroughly clean both front and rear lenses.
- Choose a Neutral Background: For flat art, a clean, matte white or light grey wall works best. For 3D art, a seamless sweep of white paper or fabric can create a 'studio' look. Avoid busy patterns, bright colors, or anything distracting that takes away from the art.
- Ensure Stability: Even the slightest wobble can result in a blurry photo. A phone tripod (many cost under $20 on Amazon) is highly recommended. If you don't have one, stack books or use a phone stand to keep your device perfectly still and level.
- Setup for Flat Art: Hang framed or unframed flat art vertically on a wall using Blu-Tack or painter's tape to ensure it's perfectly straight. Alternatively, place it on an easel directly against a plain background.
- Setup for 3D Art: Place your sculpture or ceramic on a clean, plain surface (e.g., white tabletop, cardboard box covered with a white sheet). A simple rotating stand can be useful for capturing multiple angles.
Optimise Your Phone's Camera Settings
Your phone's default camera app is often sufficient, but knowing a few settings can significantly improve your results. Some phones offer a 'Pro' or 'Manual' mode with greater control.
- Disable Flash: As mentioned, never use your phone's flash. Ensure it's off.
- Enable Grid Lines: Go to your phone's camera settings and enable the 'Grid' or 'Rule of Thirds' option. These lines will help you perfectly align your artwork and keep your phone straight, preventing skewing.
- Tap to Focus and Adjust Exposure: Tap directly on your artwork on the screen to focus. Then, look for a sun icon or slider that appears; slide it up or down to adjust brightness. You want the artwork to be well-lit but not overexposed (blown-out whites) or underexposed (lost details in shadows). Lock the focus/exposure if possible (often by long-pressing on the screen).
- Set Highest Resolution/Quality: Ensure your camera is set to capture images at its highest available resolution. This provides more data for editing and ensures clarity when zoomed in.
- White Balance (Pro Mode): If your phone has a 'Pro' or 'Manual' mode, you might be able to manually set the white balance. Aim for a neutral setting (often indicated by a sun or cloud icon) that accurately renders white and grey tones without color casts. If unsure, stick to automatic white balance under good natural light.
Shooting Flat Artwork: Achieving Perfect Orthogonality
For paintings, drawings, prints, or mixed media on canvas/paper, the goal is to capture the artwork as flat and square as possible, without any perspective distortion. Position your phone so that its lens is perfectly parallel to the center of your artwork. Use your grid lines to ensure the edges of your artwork align perfectly with the grid on your screen.
Don't shoot from too close; this can introduce wide-angle lens distortion, making the center bulge or edges appear warped. Instead, step back slightly, allowing the entire artwork to fill the frame, then crop later. Take several shots, slightly adjusting your position or the artwork, to ensure you get at least one perfectly straight, glare-free image. You can also take a few slightly angled shots to show texture or depth, but ensure your primary image is straight-on.
Beyond the full-frame shot, capture close-up detail photos. These highlight brushstrokes, paper texture, intricate details, and your signature. Potential buyers appreciate seeing these nuances, especially for pieces with significant texture or fine work. A good rule of thumb for online galleries is to provide at least 3-5 images: one full view, 2-3 detail shots, and potentially a lifestyle shot.
Capturing 3D Art: Dimension, Texture, and Scale
For sculptures, ceramics, jewelry, or mixed-media pieces with depth, the goal is to show the work from multiple perspectives. Capture at least 5-7 distinct angles: front, back, sides, top, and a few dynamic ¾ views. This helps buyers understand the piece's form and how it interacts with light from different directions.
Like flat art, detailed close-ups are essential. Focus on texture, specific embellishments, glaze details, or any unique aspects of your work. Ensure the lighting remains consistent across all shots of a single piece to maintain visual continuity.
Crucially, include a sense of scale. Many buyers struggle to visualize the size of an artwork from dimensions alone. Place a common, neutral object next to your art – a hand, a coffee mug, a standard-sized book, or even a ruler. Make sure the scale object is unobtrusive and doesn't distract from the artwork itself. This small step can significantly reduce buyer uncertainty.
Post-Production Power: Edit Like a Pro on Your Phone
Even with perfect shooting conditions, a little post-processing can elevate your photos. The goal is not to dramatically alter your art but to enhance clarity and ensure color accuracy. Your phone's built-in editor can handle basic tasks, but free apps like Snapseed (Google) or the basic features of Adobe Lightroom Mobile offer more precise control. Focus on these key adjustments:
- Crop & Rotate: Square up your artwork. Use the perspective correction tools (often found in Snapseed) to fix any slight keystone distortion if your phone wasn't perfectly parallel. Crop out any distracting background elements, aiming for a clean frame around your art. Common aspect ratios for online platforms include 1:1 (square), 4:5 (portrait), or 3:4 (portrait).
- Brightness & Contrast: Adjust these subtly to make your artwork pop. Be careful not to make whites too bright (blowing out highlights) or blacks too dark (crushing shadows), which can hide details. The goal is a balanced image.
- Color Correction & White Balance: This is critical for showing true-to-life colors. If your whites look yellow or blue, use the white balance tool. Many apps have an eyedropper tool; tap it on a neutral grey or white area in your art (or the background) to automatically correct colors. Adjust 'Saturation' and 'Vibrance' sparingly, if at all, to avoid artificial-looking hues.
- Sharpening: Apply a very light amount of sharpening to bring out detail. Over-sharpening creates harsh, pixelated edges and an unnatural look.
- Avoid Filters: Resist the urge to use stylistic filters. They distort colors and texture, misrepresenting your original artwork.
After editing, compare your photo to the actual artwork in the same lighting conditions. Does it accurately represent your work? If not, make further adjustments.
Final Touches: Exporting & Optimising for Online Platforms
Once your photos are perfectly edited, the last step is to prepare them for upload. Proper file management ensures your images load quickly and look great across various platforms.
- File Format: Always save your images as JPEG (.jpg) for online use. It offers excellent compression without significant loss of quality for web display.
- Resolution: For web, 72 PPI (pixels per inch) or DPI (dots per inch) is standard. Don't upload massive print-resolution files; they slow down page loading.
- Pixel Dimensions:
- For OnlineGallery.com: We recommend images around 2000-3000 pixels on the longest side. This provides excellent quality for full-screen viewing and zoom while maintaining fast load times. Max file size is typically 5-10MB.
- For Etsy: Etsy recommends at least 2000 pixels on the shortest side for optimal zoom functionality. Max file size 10MB.
- For Instagram: 1080 pixels wide is ideal for photos to avoid compression issues. Instagram will size it down if it's too large, potentially reducing quality.
- File Naming: Be consistent and descriptive. Use a format like ArtistName-ArtworkTitle-Angle.jpg (e.g., JaneDoe-SunsetBlues-Front.jpg). This helps with SEO and keeps your files organised.
With these steps, your smartphone transforms into a powerful tool for showcasing your art. You don't need fancy equipment to capture professional-grade images that truly represent your work and captivate potential buyers online. Good luck!
Show Your Work to the World
A professional online gallery is the first thing buyers and licensing partners want to see. Build yours on OnlineGallery — free, no commission.
Create Your Gallery Free