The True Cost of Damaged Art: It's More Than Just a Refund
Imagine this: You’ve just poured your heart into a new piece, meticulously photographed it, listed it on your OnlineGallery.com profile, and made a sale. You pack it with care, send it off, and then… a dreaded email. “My art arrived damaged.” For an independent artist, this isn't just an inconvenience; it’s a financial hit, a blow to your reputation, and a drain on your precious time. A single damaged shipment can cost you the refund value of the art, shipping costs (both ways), the materials used, and the unrecoverable time spent on communication and filing claims. Worse, it erodes trust and can lead to negative reviews on platforms like Etsy or Google, impacting future sales.
The good news? Damaged art complaints are almost entirely preventable with the right methodology. This guide isn't about cutting corners; it's about building an impenetrable fortress around your artwork. By adopting a professional-grade packaging strategy, you can virtually eliminate these headaches, protect your profits, and solidify your reputation as a reliable, high-quality artist. Let’s dive into the specifics.
The Foundational Principle: Layers of Invincibility
The core of damage-proof packaging isn't a single magical material; it's a system of redundant, protective layers. Each layer serves a specific purpose, working together to absorb shock, prevent abrasion, block moisture, and withstand crushing forces. Think of it like an onion – peel away one layer, and there's another, equally robust, beneath it. This multi-layered approach ensures that even if one barrier is compromised, the subsequent layers continue to safeguard your art.
This method applies universally, whether you're shipping a delicate watercolor print or a hefty framed oil painting. The specific materials will vary, but the philosophy remains the same: create multiple lines of defense against the unpredictable journey your art will undertake, from your studio to your collector's wall. No piece of art should ever be directly against the interior of a shipping box.
Flat Art: The Rigid Fortress Method (Prints, Photos, Small Boards)
For prints, photographs, small works on paper, or thin art boards, rigidity is your best friend. Follow these steps for ultimate protection:
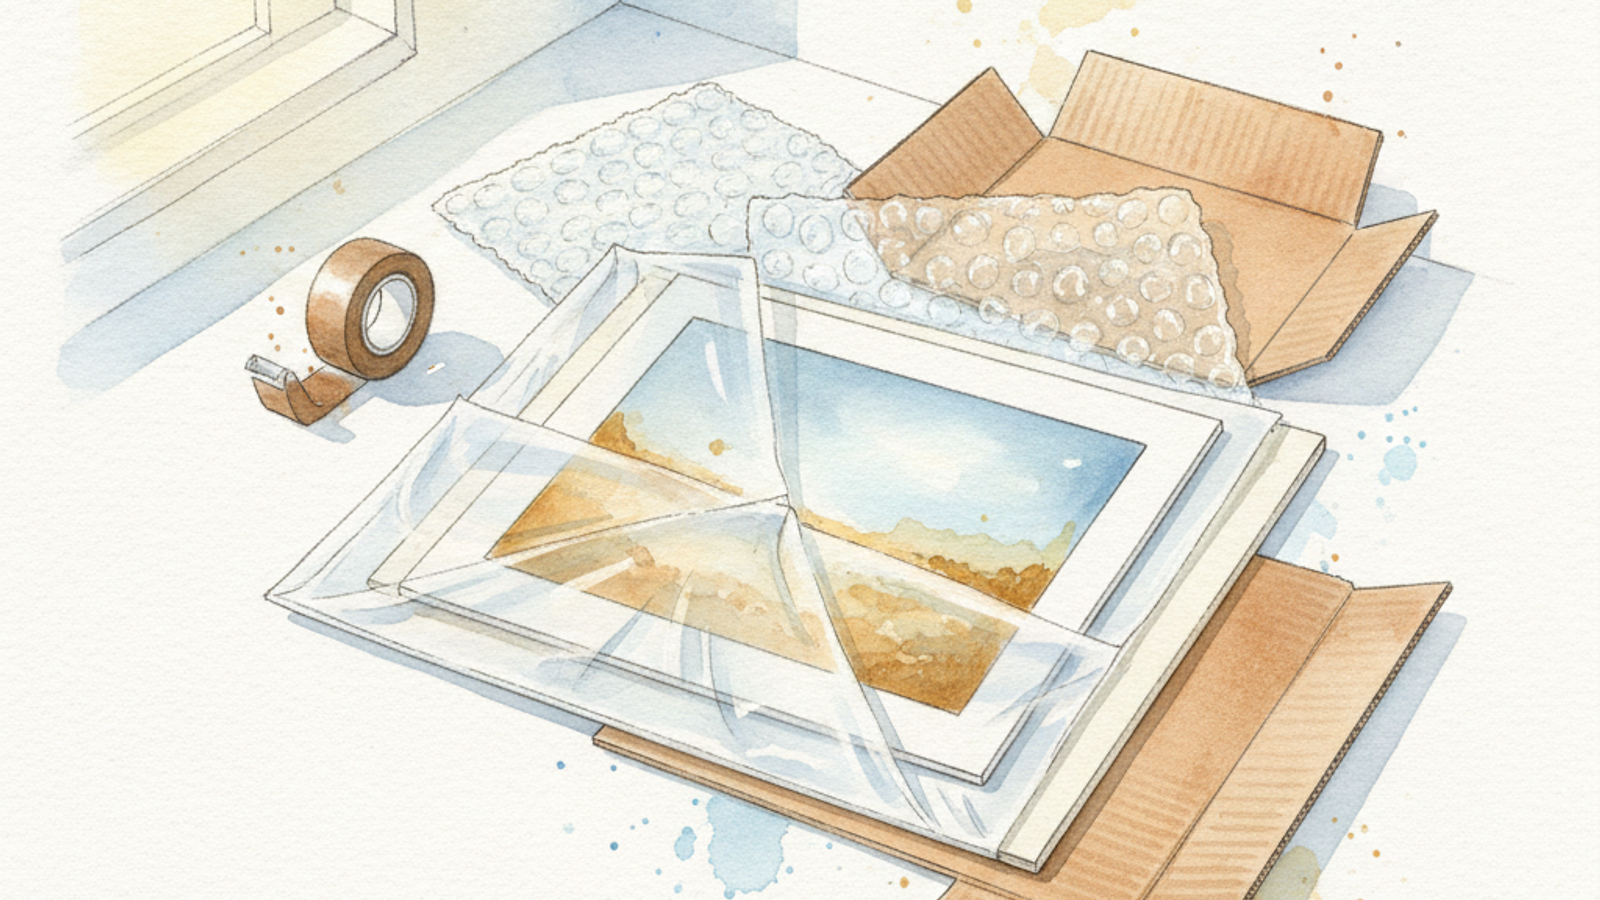
- Acid-Free Inner Protection: First, slide your artwork into an archival-quality, clear poly bag or sleeve (at least 4-mil thickness). This protects against moisture, dust, and abrasion from other packing materials. Seal it completely.
- Rigid Backing & Fronting: Place the poly-sleeved art between two pieces of acid-free corrugated cardboard or foam core. Use at least 60-point (0.060 inches thick) backing board on both sides. Ensure these boards are slightly larger than your artwork (e.g., a 10x12 inch print should be backed by 11x13 inch boards). Tape these boards together securely on all four sides with painter's tape or masking tape – this holds the art in place without damaging it.
- Corner Protection (Optional, but Recommended): For larger prints or delicate edges, add cardboard corner protectors or small foam pieces. These prevent dinged corners, a common complaint.
- The Rigid Mailer: Insert this entire 'art sandwich' into a stiff, flat mailer. Look for mailers advertised as 'stay-flat' or 'extra-rigid,' typically 30pt cardboard or higher. Ensure the mailer is only slightly larger than your art package to minimize internal movement.
- External Reinforcement: For extra security, place the rigid mailer itself between two additional pieces of corrugated cardboard cut to size, then wrap this entire assembly in bubble wrap (small bubbles, 2-3 layers) or heavy-duty kraft paper. Secure with industrial-strength packing tape (e.g., Scotch Heavy Duty Packaging Tape).
3D & Framed Art: The Float-and-Box Strategy
For stretched canvases, framed works, or sculptures, the goal is to suspend the item within a durable outer container, preventing any direct contact with the box walls and absorbing impacts from all directions.
- Surface Protection: For canvases, cover the painted surface with acid-free glassine paper. For framed art with glass, tape an 'X' across the glass with painter's tape to help hold pieces if it breaks, then cover with glassine. Wrap the entire piece securely in heavy-duty kraft paper. Do NOT use newspaper as it can smudge.
- Bubble Wrap Armor: Apply at least 3-4 layers of large-bubble (1/2" to 1" bubbles) industrial-strength bubble wrap. Ensure corners and edges receive extra cushioning. Tape securely so it doesn't shift.
- Corner Guards: Affix rigid foam or cardboard corner protectors (at least 2-inch thickness) to all eight corners of framed or stretched works. These are crucial for absorbing direct impacts.
- The Inner Box (First Box): Place the fully protected artwork into a sturdy, custom-fit double-wall corrugated box. There should be at least 2-3 inches of space on all sides between the artwork and the box walls. Fill this void with crumpled kraft paper, packing peanuts, or foam inserts. Seal this inner box completely with high-quality packing tape.
- The Outer Box (Second Box - Double-Boxing): This is critical. Select a second, larger double-wall corrugated box (minimum 275 lbs/sq inch burst strength) that allows for at least 3-4 inches of cushioning material on all sides of the inner box. Place 3-4 inches of cushioning (e.g., packing peanuts, crumpled paper, or custom foam) at the bottom of the outer box. Carefully center the inner box on top of this cushioning. Fill all remaining voids with cushioning material, ensuring the inner box cannot shift. Seal the outer box with several strips of industrial-strength tape.
For very large, heavy, or high-value pieces (over $1,500), consider professional art shipping services like uShip or specialized art handlers. They often provide custom crating solutions. While more expensive, the peace of mind and specialized insurance are often worth it.
Moisture, Dust, & Shock Absorption: The Unsung Heroes
Beyond physical impact, your art faces environmental threats. Humidity, temperature fluctuations, and dust can all cause damage. Your packaging must address these:
- Desiccant Packets: For any art susceptible to moisture (paper, unvarnished canvas), include a few food-grade silica gel packets inside the innermost sealed poly bag. A 5-10 gram packet per cubic foot of package volume is a good guideline.
- Heavy-Duty Poly Bags/Shrink Wrap: For framed works or sculptures, consider encasing the bubble-wrapped item in a robust 6-mil poly bag or industrial shrink wrap before placing it in the first box. This creates an additional moisture barrier.
- Quality Void Fill: Use professional packing peanuts (biodegradable options are available and appreciated by eco-conscious buyers) or tightly crumpled heavy-duty kraft paper. Avoid loosely packed newspaper as it compresses easily and offers minimal shock absorption. Ensure no empty spaces remain for your art to shift.
Labeling & Documentation: Your Art's ID Badge
Clear, concise labeling is not just about logistics; it’s about communicating critical handling instructions to every person who touches your package. Never underestimate the power of explicit instructions.
- Visibility: Affix labels to the top and at least two sides of the outer box.
- “FRAGILE” Stickers/Tape: Use multiple prominent “FRAGILE” stickers or even specialized “FRAGILE” packing tape. While not a guarantee against mishandling, it significantly increases the likelihood of careful treatment.
- “DO NOT BEND” / “DO NOT FOLD”: Essential for flat art. Use these labels generously on rigid mailers.
- THIS END UP” Arrows: For framed or sculptural pieces, indicate the correct orientation to prevent your art from being stored or handled upside down.
- Return Address: Always include a clear return address label on the package.
- Customs Forms (International): Fill out all customs documentation accurately and completely. Misinformation can lead to significant delays or seizure. Clearly describe the item as “Original Art” or “Art Print” and declare its true value.
Carrier Choice & Insurance: Picking Your Delivery Partner
No matter how perfectly you pack, the carrier choice plays a role. Each carrier has its strengths and weaknesses, and most importantly, distinct insurance claim processes.
- USPS (United States Postal Service): Generally the most economical for small, lightweight flat items (prints, cards). Priority Mail includes $100 insurance. Their claim process can sometimes be slower, but it's improving. Less recommended for large, heavy, or high-value framed pieces.
- UPS & FedEx: Preferred for larger, heavier, or more valuable items (framed art, canvases, sculptures). They offer more robust tracking, generally faster shipping times, and more straightforward insurance claims. Their packaging requirements for fragile items can be strict, so review their guidelines.
- Insurance: ALWAYS insure your artwork. The cost is a small percentage of the item's value but can save you hundreds, if not thousands. Document the declared value accurately. For items over $500, consider third-party insurance providers (e.g., Shipsurance, U-PIC) which often offer better coverage and claim resolution than direct carrier insurance.
The Unboxing Experience: Finishing Strong (Without Compromising Safety)
While safety is paramount, don't forget the unboxing experience. A delighted customer who receives perfectly preserved art is more likely to become a repeat buyer and recommend you. This doesn't mean less protection; it means thoughtful presentation.
- Presentation Layer: Once through the outer layers of protection, the innermost poly sleeve can be accompanied by a small, branded thank-you note or a certificate of authenticity. This adds a personal, professional touch.
- Easy to Open (Eventually): While secure, avoid excessive, unnecessary taping that makes unwrapping a chore. Use clear tape for inner layers so the customer can easily see what they are unwrapping. Leave clear instructions if specific tools (e.g., scissors) are needed.
When Things Go Wrong: Your Damage Protocol
Even with the best packaging, anomalies can occur. Be prepared with a clear, calm protocol to handle inevitable (though hopefully rare) incidents:
- Require Photos: Instruct your buyer to take clear photos of the damaged packaging (before opening), the internal packing materials, and the damaged artwork itself. These are absolutely essential for any insurance claim.
- Retain All Packaging: Advise the buyer to keep all packaging materials until the claim is resolved. Carriers often require inspection of the original packaging.
- Prompt Claim Filing: File an insurance claim with the carrier or third-party provider immediately. Most have strict deadlines (e.g., 7-14 days).
- Communicate Clearly: Keep the buyer informed throughout the process. Offer a refund or replacement promptly (once the claim is initiated/approved) to maintain good customer relations. Your reputation is worth more than one lost sale.
By following this comprehensive guide, you’re not just packing art; you’re investing in your business’s future. Eliminate damaged art complaints, build a stronger brand, and focus on what you do best: creating incredible art.
Show Your Work to the World
A professional online gallery is the first thing buyers and licensing partners want to see. Build yours on OnlineGallery — free, no commission.
Create Your Gallery Free